-
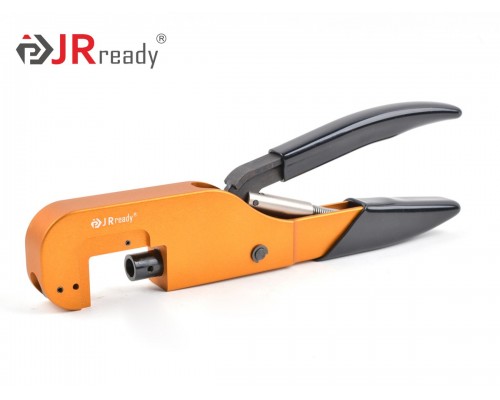
JRREADY YJQ-W5 Hand Hexagonal Crimp Tool 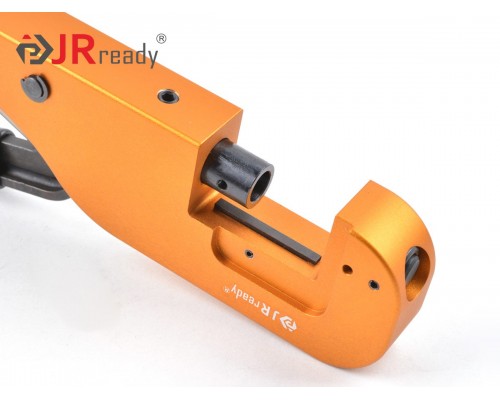
JRREADY YJQ-W5 Hand Hexagonal Crimp Tool 
JRREADY YJQ-W5 Hand Hexagonal Crimp Tool 
JRREADY YJQ-W5 Hand Hexagonal Crimp Tool 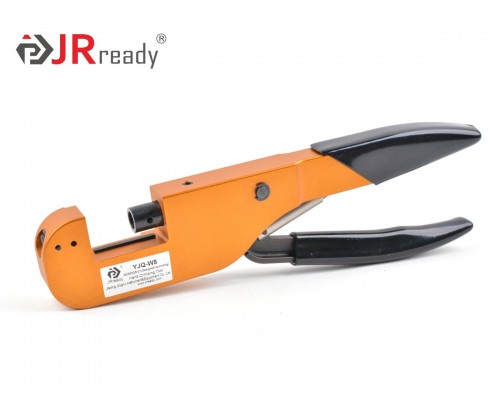
JRREADY YJQ-W5 Hand Hexagonal Crimp Tool -
-
JRREADY YJQ-W5 Hand Hexagonal Crimp Tool
1. Designed according to MIL-C-22520/5-01;
2. A type of open frame hand crimp tool;
3. Used for crimping all kinds of ferrules, coaxial connectors, contacts, coalitions and wire terminal blocks;
4. Includes HX3-82 die remove tool;
5. Adapts M22520/5 series crimp dies./upload/manual/usermanual/D11_W5_USE_WB_P.pdf


Brand: JRREADY | Standard: MIL-C-22520/5-01 (Not QPL) | Model: YJQ-W5 |
Crimp Style: / | Material: Mould Steel | Selector Numbers: / |
Wire Size (AWG/mm²): / | Thru-hole Diameter (mm): / | Dimensions (mm): 279*62*51 |
Internal Number: D11 | Weight (g): 625g | |
| YJQ-W5 is designed according to M22520/5-01 which is widely used for crimping all kinds of ferrules, coaxial connectors, contacts, coalitions and wire terminal blocks. With stroke lock device to ensure high reliability of crimp quality. Interchangeable dies can be installed and fixed in a proper position with pins. According to the needs of customers, we can continuously develop new dies, and we can also specially design and manufacture tool kits. | ||
| Model of check tool: G155 (Note: the gage needs to purchase separately) | ||
Crimp Styles

Die Instructions
Die Installation
1. Align die rail slots in die halves with the rail in the crimp tool and push shank of dies into holes. Dies will snap into place. (See Figure 1)
2. Close tool handle to make sure dies are properly seated. The tool is now ready for use.
Die Removal
1. With the crimp tool handle open, place die removal tool against end hammer (See Figure 2). The die will be released from the front die holder. It can now be removed by hand.
2. Close the crimp tool handle and slide the die removal tool between the die and tool body (See Figure 3). Pull handle open with a snap action. The die will be released and can then be removed by hand.
Die Combination
1. Install the die on the crimp tool handle;
2. After installing the die, force the locking pin into the hole and keep it flush. The long locking pin is inserted into the tool frame and the short locking pin is inserted into the push rod (see Figure 4).
Note: Die removal tool part number HX3-82 is furnished with crimp tool. If die removal tool is not available, a rod approximately 3/16’’ diameter X 13/4’’ long may be used.
|  |
 |  |


Applications
Wrapped Contacts |
Shielded Wires |
Amphenol Contacts |