-
JRready KIT4011 (YJQ-W7Q&86-37&BM-2&PC-SUITE1) Crimp Tool Kit 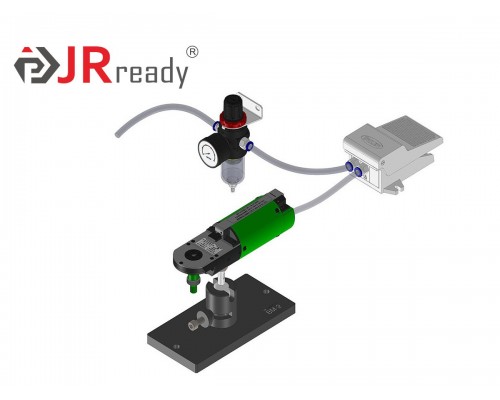
JRready KIT4011 (YJQ-W7Q&86-37&BM-2&PC-SUITE1) Crimp Tool Kit 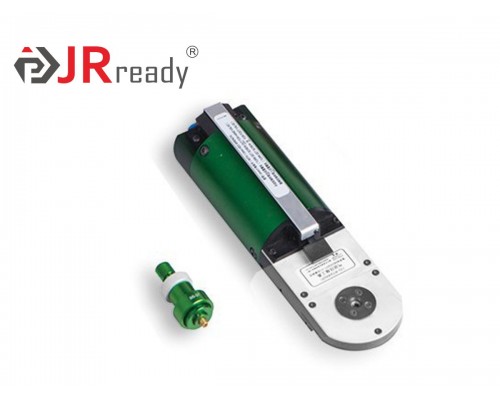
JRready KIT4011 (YJQ-W7Q&86-37&BM-2&PC-SUITE1) Crimp Tool Kit -
-
JRready KIT4011 (YJQ-W7Q&86-37&BM-2&PC-SUITE1) Crimp Tool Kit
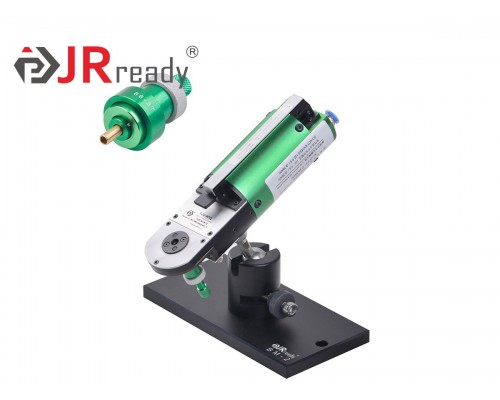
1. KIT4011 Crimp Tool Kit includes YJQ-W7Q (Pneumatic Crimp Tool) and 86-37 (Universal Positioner);
2.Suitable for crimping of round contacts of MIL standard, Harting, Wain, TE connectors;
3.Wire Crimp Range:16-28AWG (0.08-1.32mm²);
4.Manual Version: KIT2011./upload/manual/ENV/KIT4011_W7Q&BM2&PCSUITE1&8637_ENV_WB_P.pdf


Brand: JRready | Model: YJQ-W7Q&86-37&BM-2&PC-SUITE1 | Weight (g): 1061 |
Crimp Style: Four-indent Eight-impression | Internal Number: KIT4011 | |
| YJQ-W7Q is compatible with the M22520/7-01 which is widely used for the crimping of wires and contacts in electronic connectors. 86-37 universal positioner is used to locate contacts horizontally and vertically between the indenters of the tools to ensure the accuracy and consistency of the crimp position. The height adjusting screw can be rotated until the contact is in the proper position for crimping. Suitable for different types of contacts. | ||
Model of hand crimp tool kits: PRECISETOOL KIT2011(YJQ-W7A&86-37) Crimp Tool Kit | ||
Features
1. Material of Mould Steel (Good Durability & Good Anti-deformation & Good appearance & Anti-rust)
2. Four-indent Crimp Tool (Crimp tension is 1.3 times that of the hexagonal crimp, more stable & more reliable)
3.8 Selector Numbers (Adjustable crimping ranges in different selector number, more convenient for wider applications)
Crimp Principle
The crimping tool adopts curve propulsion mechanism, its applied force transfers through four curves in the head cavity of the right plier handle to the four indenters. The four intenders do the centripetal linear motion, which makes its front-end teeth crimp the contact to complete the crimping process. The cycle controlled precision ratchet assures the consistency of impression and the crimping quality of wires and contacts.
Installation of Positioner
1. Before installing the locator, the tool should be open;
1. Remove the safety clip from positioner guide;
2. Select the correct positioner for terminal crimping
3. Insert the positioner into positioner guide, push down and then rotate 90 °, until bayonet pins lock;
4. Remove the spring clip from the selector knob, adjust it to the correct selector position.
Applications
3 Steel Needle |
φ1.0 Pin |
HARTING Contact |


Crimping Instructions
Step 1 : Put the contact |
Step 2 : Insert the wire |
Step 3 : Crimp and open the crimp tool |
Step 4 : Remove the crimped contact |