-
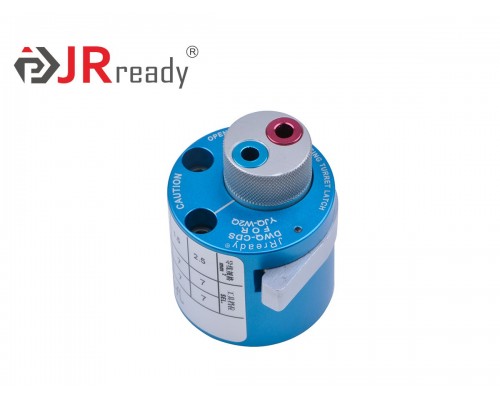
JRready DWQ-CDS Turret Head 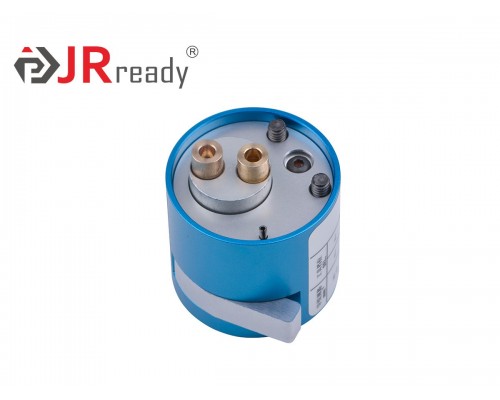
JRready DWQ-CDS Turret Head 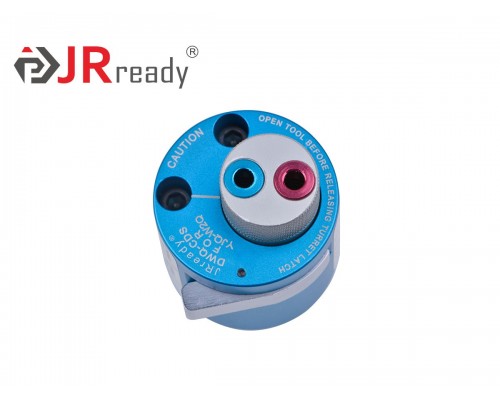
JRready DWQ-CDS Turret Head 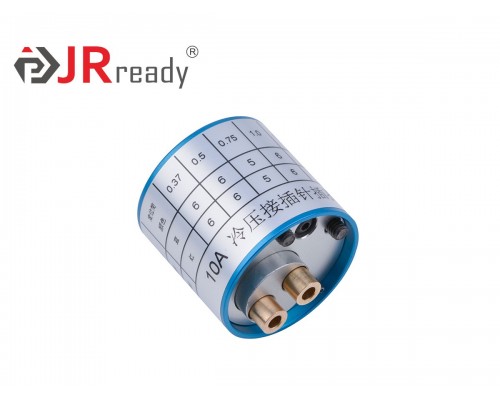
JRready DWQ-CDS Turret Head 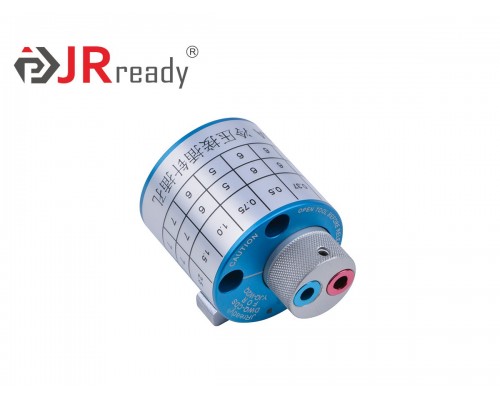
JRready DWQ-CDS Turret Head -
-
JRready DWQ-CDS Turret Head
1. Non-standard series of Turret Head;
2. There is no need to change the positioning device for crimping different contacts, just rotate the positioning core;
3. Match Tools: YJQ-W2A(manual) YJQ-W2Q(pneumatic)/upload/manual/ENV/P1801_DWQCDS_ENV_WB_P.pdf


Brand: JRready | Standard:/ | Model: DWQ-CDS |
Match Tools: YJQ-W2A YJQ-W2Q | Material: Copper | Dimension (mm):50.8*37.8 |
Internal Number: P1801(copper) | Weight (g): 109 | |
The DWQ-CDS positioner contains 2 different sizes of positioning cores. Each core is corresponding to the different positioning turret colors (yellow and blue). According to different terminal specifications, select the corresponding core, and then rotate the turret to the white marking line. | ||
Installation of Turret Head

1. Keep the crimp tool in open position.
2. Press turret trigger latch which releases turret to indexing position.
3. Place selected turret head assembly onto retainer ring with socket head screws lined up with tapped holes.
4. After turret head is seated against retainer ring, tighten socket head screws.
5. Refer to data plate on turret head. From the color code column, select the positioner color that corresponds with the appropriate part number and size of contact to be crimped.
6. With tool in open position, and turret in indexing position, rotate until color coded positioner is in line with index mark. Press turret until it snaps in latched position.
7. Refer to data plate on turret head. From proper wire size column, determine the selector number that corresponds with the contact being used.
8. Remove spring clip from selector number is in line with index mark.