-
-
-
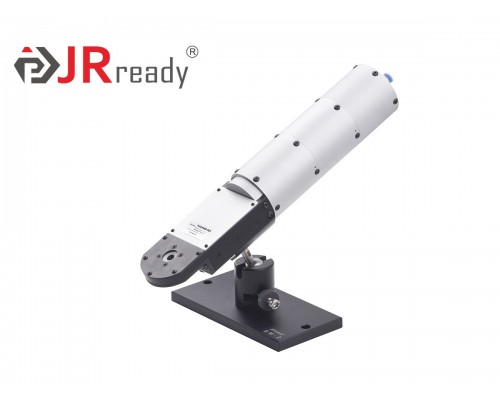
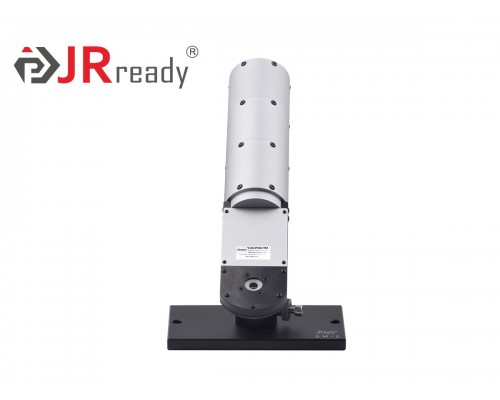
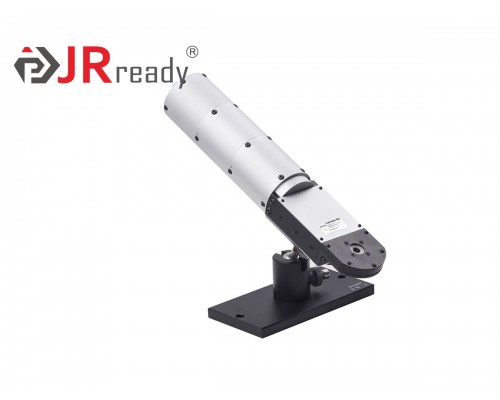
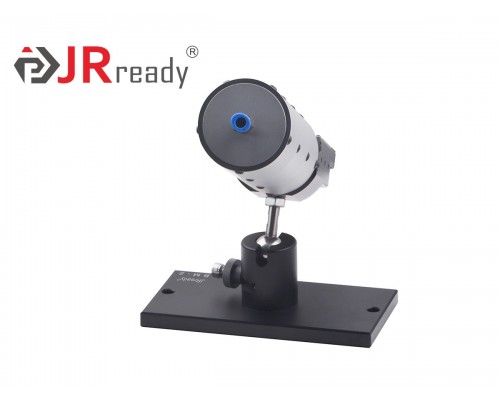
JRready YJQ-W4Q-YC Four-indent Pneumatic Crimp Tool
1. Specially designed for the crimping of small size contacts of charging piles and charge guns in new energy vehicles;
2. Adapts UH45 series of adjustable positioners;
3. Increases the thru-hole diameter to increase the applications of the tool.
Brand: JRready | Standard: / | Model: YJQ-W4Q-YC |
Crimp Style: Four-indent Eight-impression | Material: Mould Steel | Selector Numbers: 8 |
Wire Size (AWG/mm²): 9 (6.63)-14 (2.0) | Thru-hole Diameter (mm): Φ10.8 | Productivity: 30-40 |
Dimensions (mm): 377*72*72 | Weight (g): 2693 | Air Supply & Working Air Pressure (Bar): 5.5-8.3 |
Internal Number: Q1801 | ||
| YJQ-W4Q-YC Pneumatic Crimp Tool is designed based on YJQ-W4Q, which is suitable for crimping of large outside diameter contacts. | ||
Features
1. Material of Mould Steel (Good Durability & Good Anti-deformation & Good appearance & Anti-rust)
2. Four-indent Crimp Tool (Crimp tension is 1.3 times that of the hexagonal crimp, more stable & more reliable)
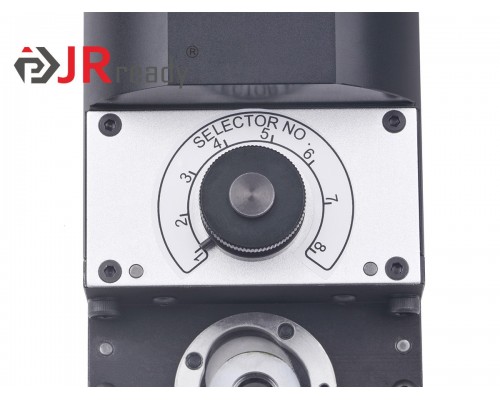
3.8 Selector Numbers (Adjustable crimping ranges in different selector number, more convenient for wider applications)
Crimp Range
Selector NO. | Intender Working Diameter mm/INCH | |
A(GO) | B(NO GO) | |
1 | 2.52/0.099 | 2.77/0.109 |
2 | 2.65/0.104 | 2.90/0.114 |
3 | 2.77/0.109 | 3.03/0.119 |
4 | 2.90/0.114 | 3.15/0.124 |
5 | 3.08/0.121 | 3.33/0.131 |
6 | 3.26/0.128 | 3.51/0.138 |
7 | 3.48/0.137 | 3.74/0.147 |
8 | 3.74/0.147 | 3.99/0.157 |
The crimping tool adopts curve propulsion mechanism, its applied force transfers through four curves in the head cavity of the right plier handle to the four indenters. The four intenders do the centripetal linear motion, which makes its front-end teeth crimp the contact to complete the crimping process. The cycle controlled precision ratchet assures the consistency of impression and the crimping quality of wires and contacts.
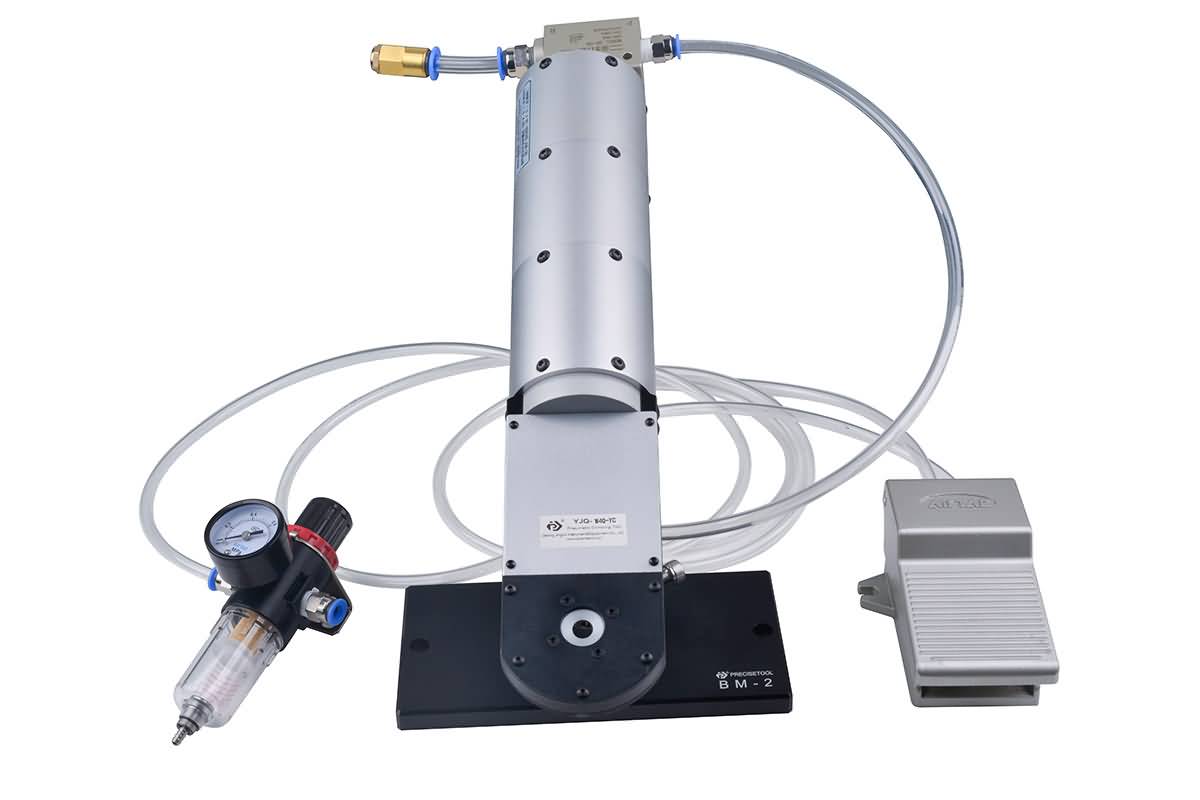
Picture of the whole set
Applications
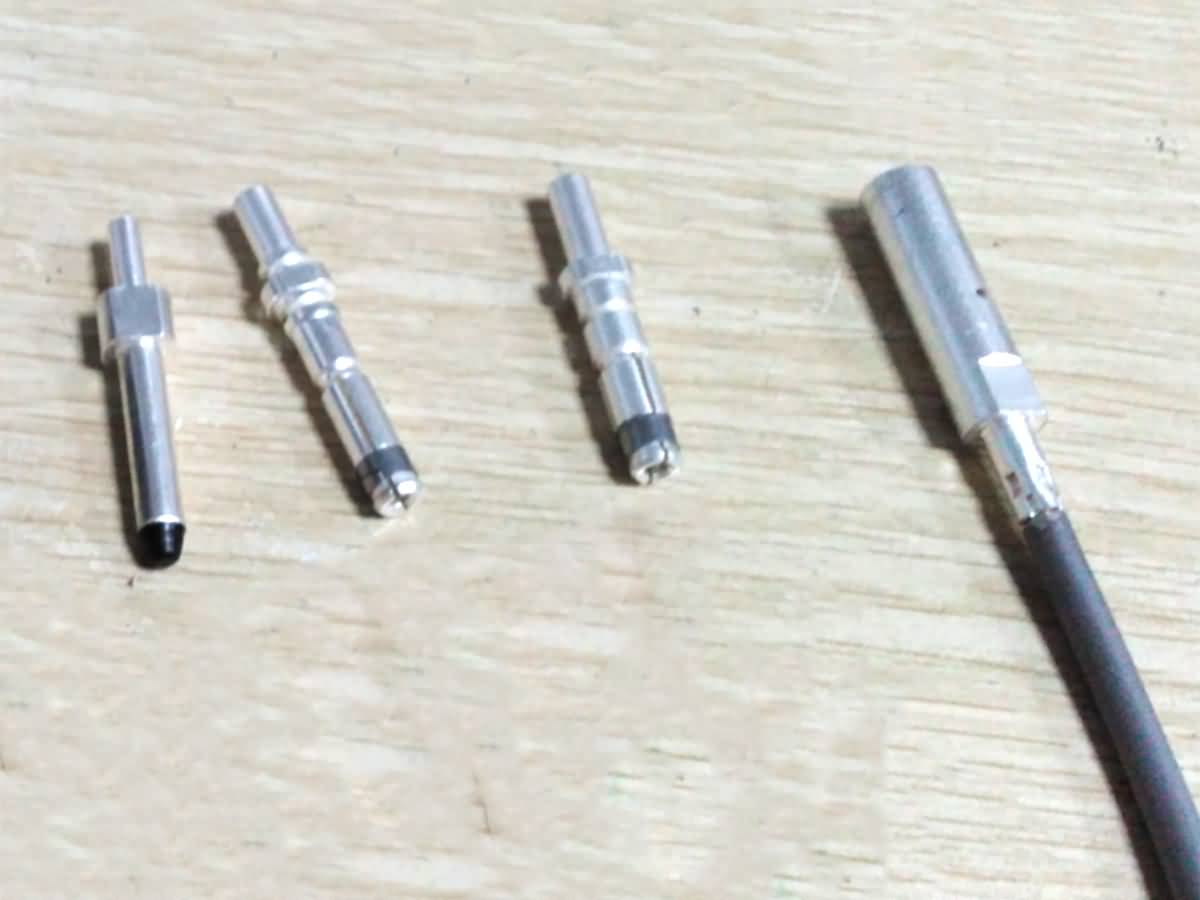
Charging Piles Contacts in New Energy Vehicles |
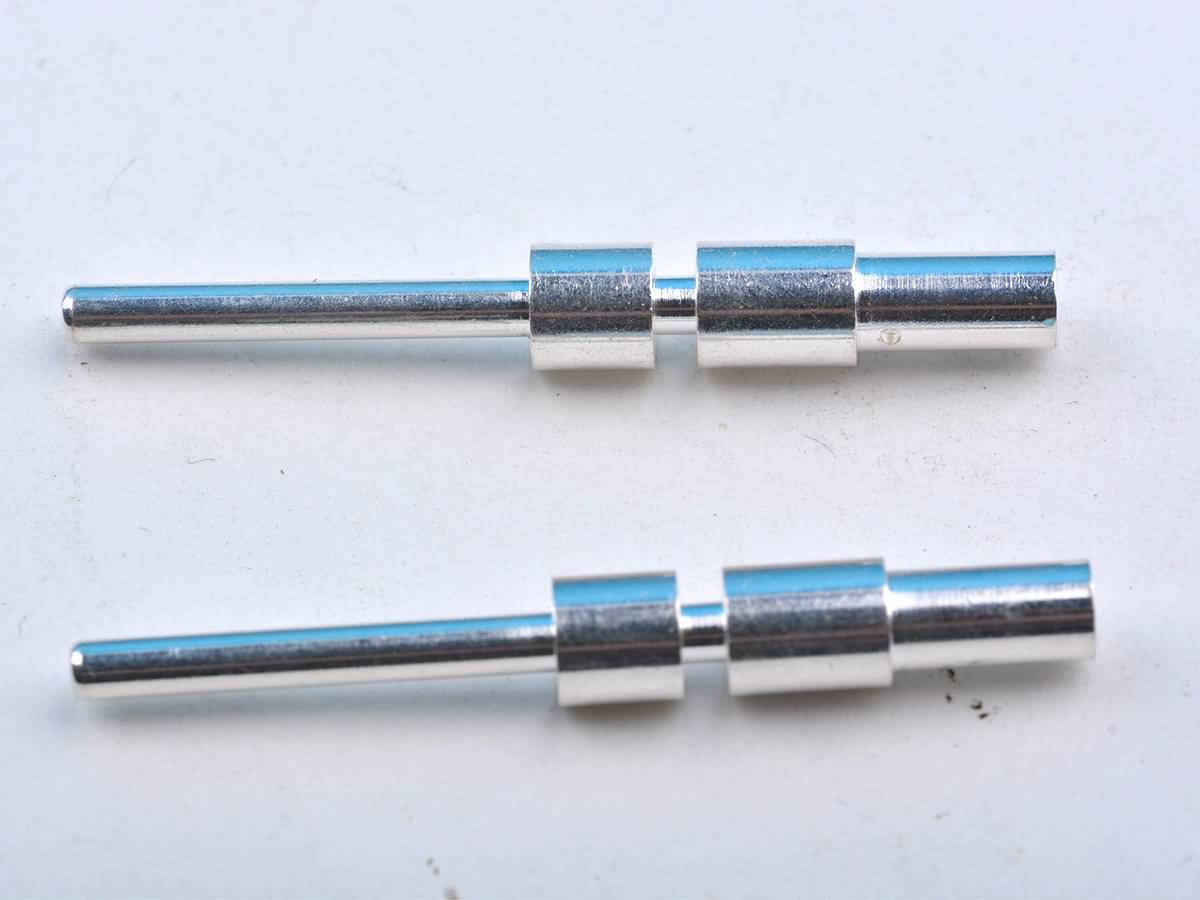
Small Size and Large Outside Diameter Contacts |
Crimping Instructions
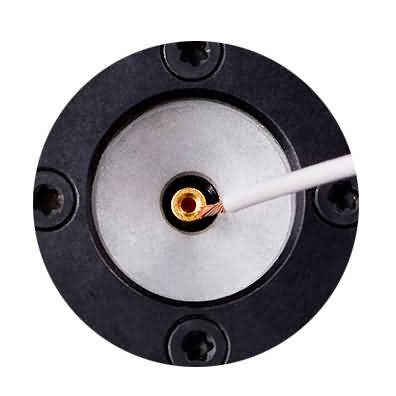
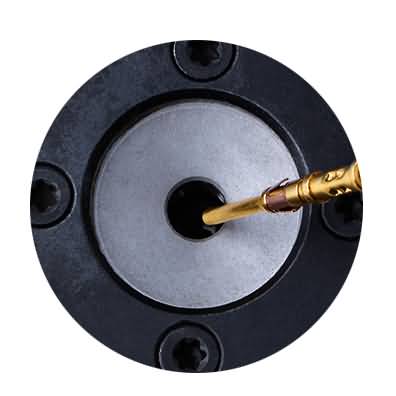
Step 1 : Put the contact |
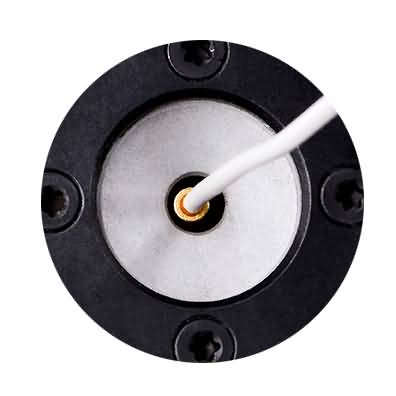
Step 2 : Insert the wire |
Step 3 : Crimp and open the crimp tool |
Step 4 : Remove the crimped contact |

